- Home
- JDT Racing Fuel Pump Rewire Kits
- Walbro/TI F90000274 450lph Fuel Pump w/ Install Kit & Rewire Kit E85 C
Description:
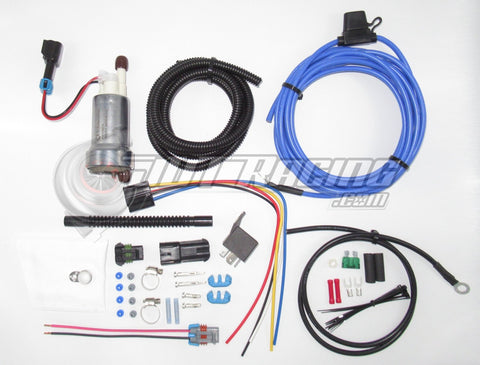
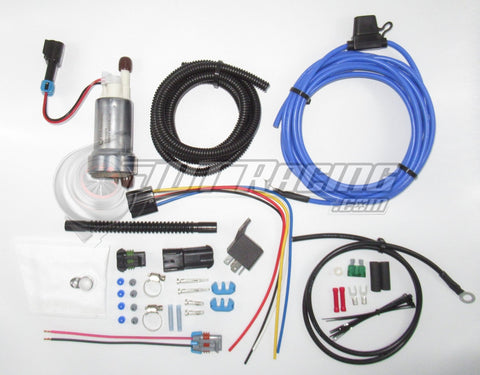
Walbro/TI Automotive F90000274 450lph Fuel Pump & 400-1168 Install Kit & JDT Racing Fuel Pump Rewire Kit
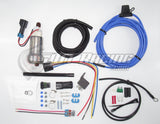
This listing is for a brand new Walbro/TI Automotive F90000274 450lph Fuel Pump complete with Walbro 400-1168 installation kit. Also included is a JDT Racing Fuel Pump Rewire Kit which works great in almost any application. One of the most common mistakes people make when trying to run a high volume fuel pump is trying to use the factory wiring which on most vehicles is extremely inadequate. When installing a much larger than factory fuel pump you need to upgrade the wiring, fuse and relay setup. The JDT Racing Rewire kit includes everything you need to safely and effectively run the Walbro 450lph Fuel Pump.
**PLEASE NOTE**
**Compatible with Gasoline, E85 & Flex Fuel.
Includes:
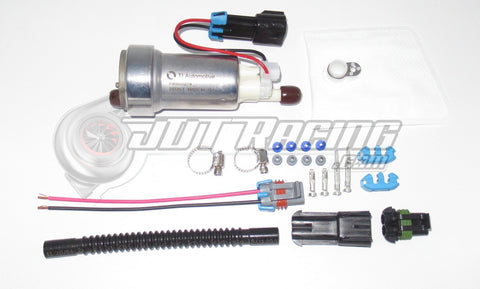
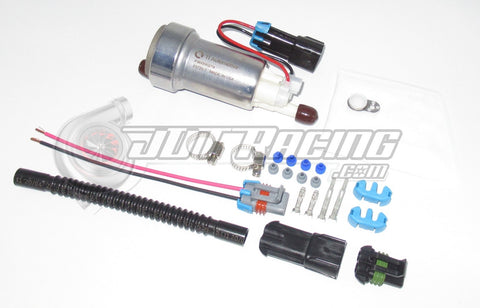
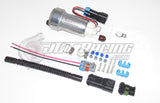
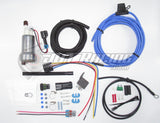
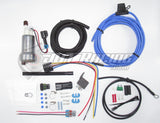
(1x) Walbro/TI Automotive F90000274 450lph Fuel Pump
(1x) Walbro/TI Automotive 400-1168 Installation Kit
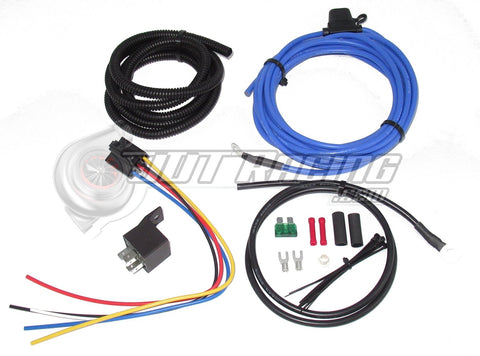
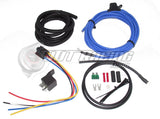
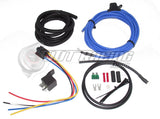
(1x) JDT Racing Fuel Pump Rewire Kit which contains:
(1x) 16' 10 Gauge Blue Power Cable with 30 Amp In-Line Fuse and Ring Terminal
(1x) 3' 10 Gauge Black Ground Cable with Ring Terminal
(1x) Relay
(1x) Relay Pigtail
(1x) Pass Through Grommet
(2x) Butt Connectors
(2x) Connectors
(2x) Connector Insulators
(1x) Black Wire Loom
(10x) Cable Ties
Installation:
Disconnect battery from vehicle.
Run blue power wire from the battery location to the fuel pump location.
DO NOT CONNECT THE BLUE POWER WIRE TO THE BATTERY YET!
Now that you have the wire run from the battery location to the pump location the relay needs to be wired as follows.
**NOTE: We recommend soldering all connections.
#30 {blue wire} - feed wire from battery.
#87A {red wire} - not used.
#87 {yellow wire} - when cutting stock 12V pump wire, this connects to the pump side.
#86 {black wire} - when cutting stock 12V pump wire, this connects to the car side.
#85 {white wire} - chassis ground.
**NOTE: The numbers listed above are shown on the bottom of the relay where the prongs are.
Now that everything is wired in properly, you may hook up the power wire. You are done!

